
Best Lighting for YouTube Videos: 7 Studio Setups for Professional Cinematic Depth
Flat, muddy lighting instantly screams amateur, regardless of how expensive your camera is. Master the 7 cinematic lighting setups, modifier techniques, and contrast ratios that give your YouTube studio unmistakable visual authority.
The Golden Rule of Diffusion: The Bigger the Source, the Softer the Light
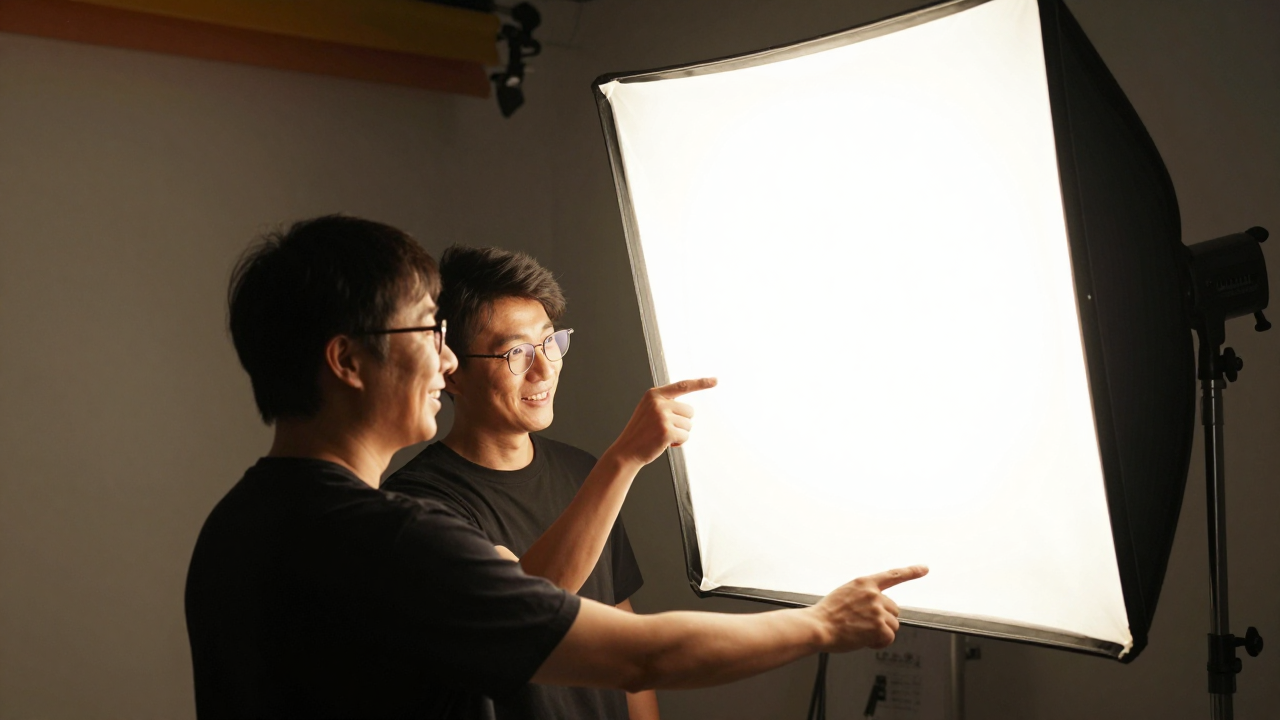
Small bare LED panels cast unflattering, harsh facial shadows. To achieve a soft cinematic look, pass high-output light through a large 36-to-48-inch parabolic softbox or diffusion sheet.
Mount a 36-inch or 48-inch lantern or deep parabolic softbox on your key light; position it within 3-4 feet of your face for maximum wrap-around softness.
Positioning the Key Light for 45-Degree Rembrandt Modeling
Placing your light directly in front of your face creates flat, two-dimensional lighting. Position the light 45 degrees to the side and 45 degrees above eye level to create dimensional facial shadows.
Set your key light at 45 degrees off-axis from the camera lens and angled downward, casting a subtle triangular shadow on the opposite cheek.
Separating the Subject with a Dedicated Hair/Rim Light
Dark hair and dark clothing easily blend into background studio walls. Position a small, focused rim light behind you at an angle to highlight shoulders and create deep three-dimensional separation.
Hang an overhead or angled boom light behind the subject set to 15-20% intensity, providing a clean hair and shoulder separation outline.
Creating Visual Depth with Background Practical Lights
A completely dark or sterile background looks dull and clinical. Introduce warm domestic practical lights (e.g., designer Edison bulbs, desk lamps, or subtle wall sconces) to add depth.
Place a warm 2700K designer lamp in the far corner of your studio frame, setting it slightly out of focus to create rich visual depth.
Balancing Color Temperatures for Editorial Harmony
Mixing conflicting, uncalibrated light sources produces unnatural skin tones. Maintain consistent daylight (5600K) on your subject, using warm tungsten (3200K) intentionally for background accents.
Lock your camera white balance manually to 5600K; ensure your key and fill lights are calibrated to exact 5600K daylight chips.
Controlling Ambient Spill with Honeycomb Grids
Uncontrolled light bouncing off white room walls ruins shadow contrast. Attach fabric honeycomb grids to your softbox to restrict light beam angles and keep background walls dark.
Attach a 40-degree fabric grid to your main softbox, preventing light spill from washing out your textured background walls.
Transforming Studio Authority into Co-Created Physical Products
Cinematic studio authority builds immense viewer trust. Turn that trust into long-term wealth by offering proprietary physical companion kits developed for your educational niche.
Partner with Peer Wright to engineer and manufacture custom physical learning tools for your viewers, earning 60% gross profit with $0 upfront investment.